Setting up art trays for your child is a fabulous way to introduce different mediums to your child, encourage creativity, build independence, and allow repetition. Let me show you the art trays we have out at the moment in our classroom for children from 16 months to 3 years.
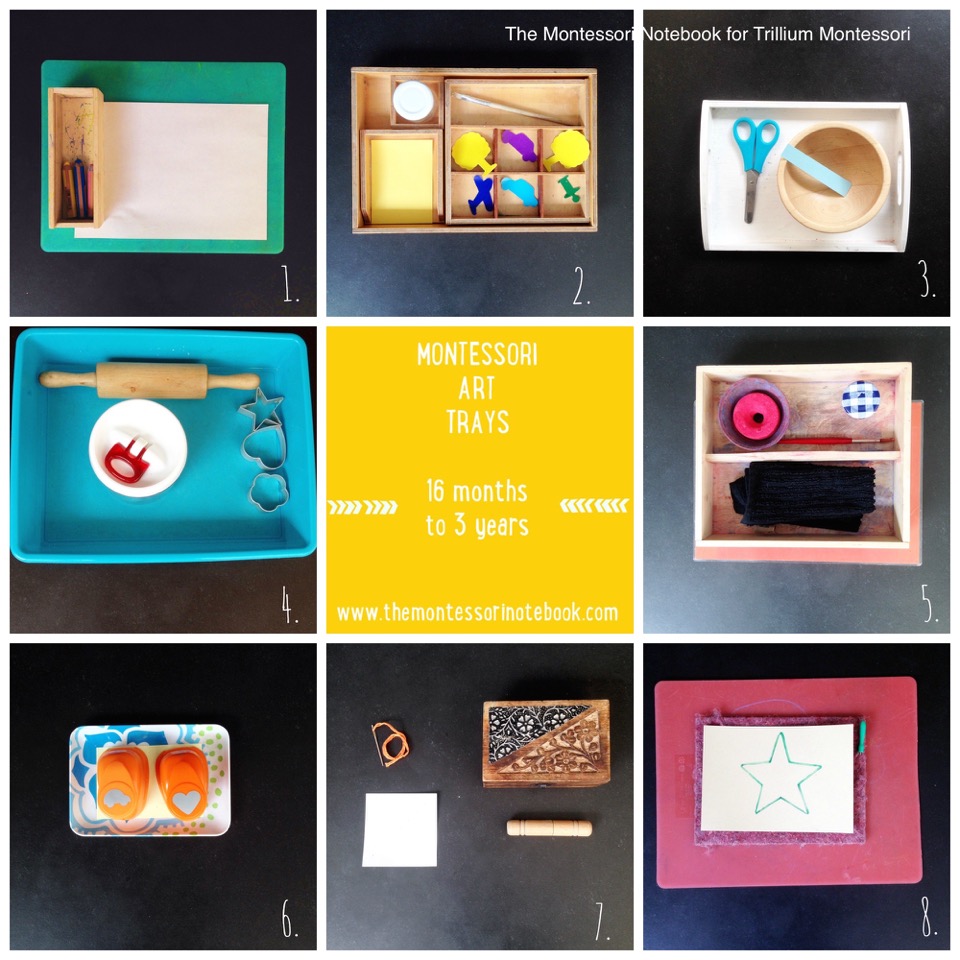
You will see that: 1. The activities are in baskets or trays – this keeps things easy to handle and makes them attractive 2. Everything the child will need for the activity is at the ready allowing the child to experience independence 3. Next to these trays we have supply drawers where the child can get extra paper, cutting strips, gluing shapes etc. I hope it inspires you to set up your own art trays too! You can find a variety of great trays at Montessori Services.
1. Drawing
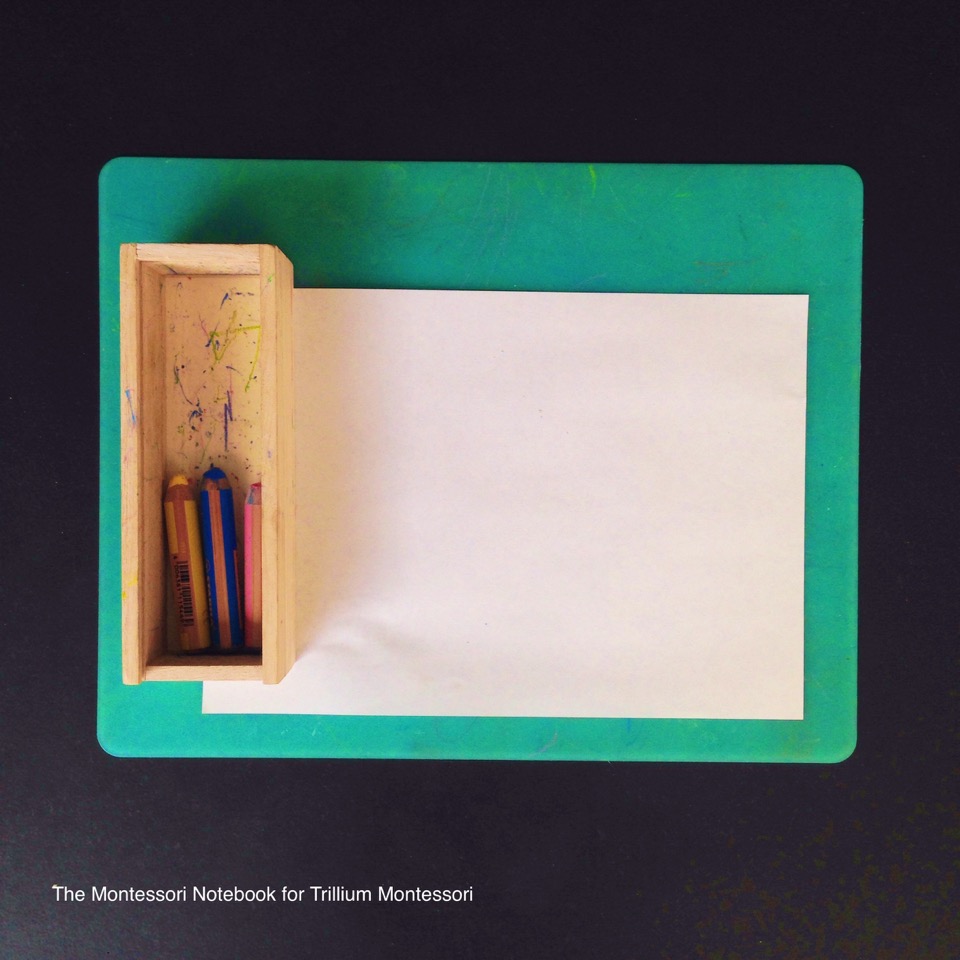
Rather than having lots and lots of pencils to choose from, a few colours are selected and placed in an attractive box or cup. The box we use here has a sliding lid that the children love to open and close. From time to time you can vary the pencils or crayons used; the colour, size and texture of the paper; and of course the colours offered. My motto with art materials is to have fewer but better quality materials. These pencils are Stabilo 3-in-1 pencils. They are high quality, give a rich colour and do not break easily. You can show them how to use the materials by drawing a simple line or a loose circle, then offering them a turn. You want to show them just enough to encourage them to explore further, without being prescriptive which may limit their creativity.
2. Glue box

I love this glue box that we made during my Montessori training. You could find a similar container with different sections, or even use just a small bowl with various shapes for gluing. The tray includes a small paint brush and a pot of glue (mini honey jars from hotels are great for this!). You could also use a glue stick, but I really like the way the children work their hand using a small glue brush and runny glue. They gain control of the brush by gluing onto the back of the shapes.
3. Cutting
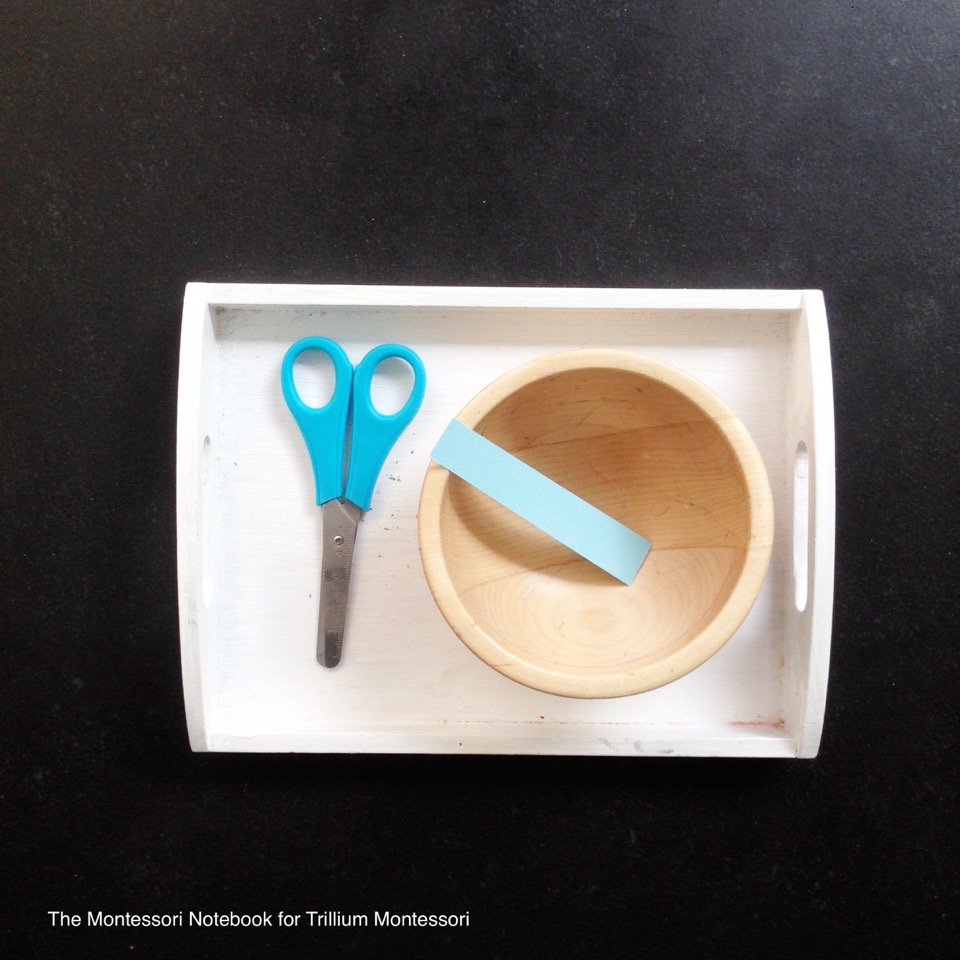
We use real scissors even under 3 years old applying the Montessori principle to show them how to use real tools. I emphasise to the children that we sit at the table with scissors, we hold the handles and tell them the blades are sharp. To give them the most success, we start with narrow cutting strips from sturdy card (around 1cm wide). If the paper is too thin, it may be difficult for them to cut. And the thin strips allow them to have success with a quick snip. At first I might hold the strip for them while they open and close the scissors with two hands. Once their hand strength and coordination builds they can use one hand, and then start holding the strip themselves. You can add lines to cut on to add difficulty and then use various sizes of paper with lines or shapes to cut along.
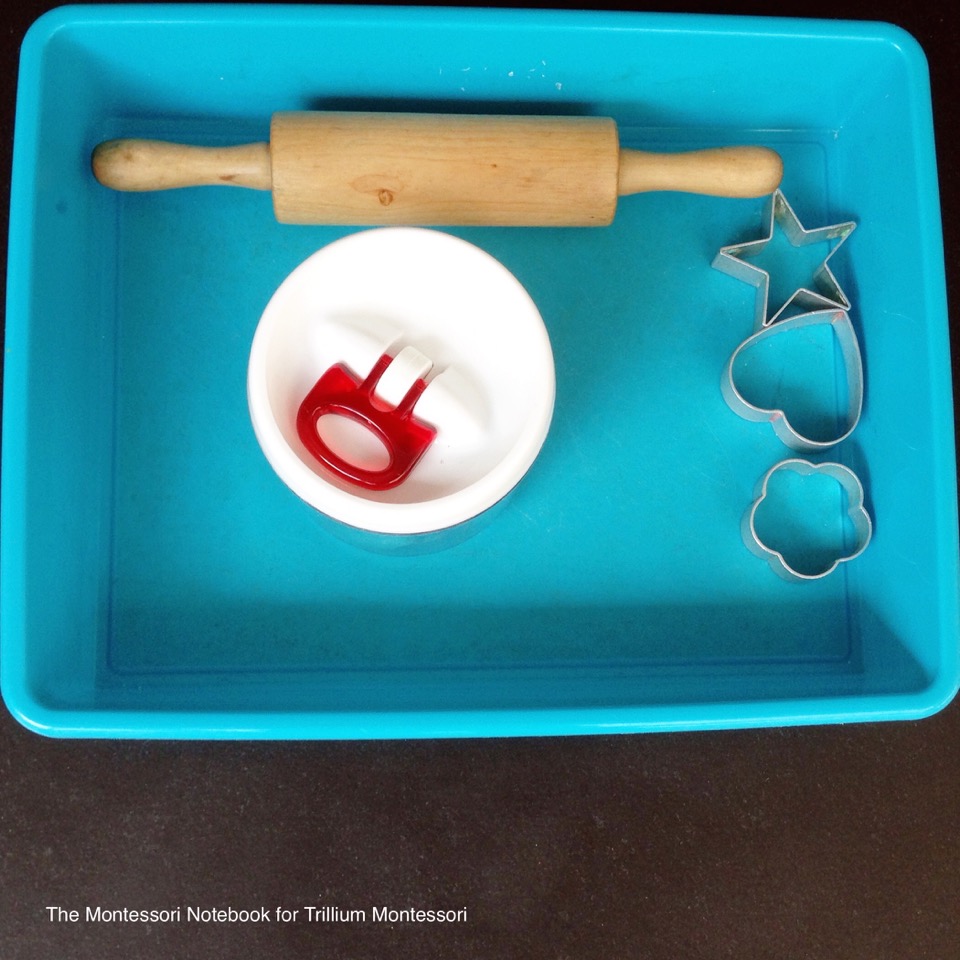
4. Play dough
 INSERT PHOTO 5. PLAYDOUGH
Play dough is in constant use in our classroom. Here are my two favourite play dough recipes from my classes . I add a few tools like a rolling pin and some cookie cutters. A simple knife with a blunt edge can be a good choice too. The chocolate mud recipe in the link above is super fun when you add some construction vehicles too. I also like to vary the play dough – some times I use natural clay, kinetic sand, different coloured homemade play dough etc.
5. Water colour painting

With young children, it is fun to choose just one water colour tablet at a time. They enjoy wetting the brush in a small jar of water, adding some paint to the brush, and they are ready to paint. I keep a cloth available for when the water spills and to wipe their hands and the table.
6. Punches
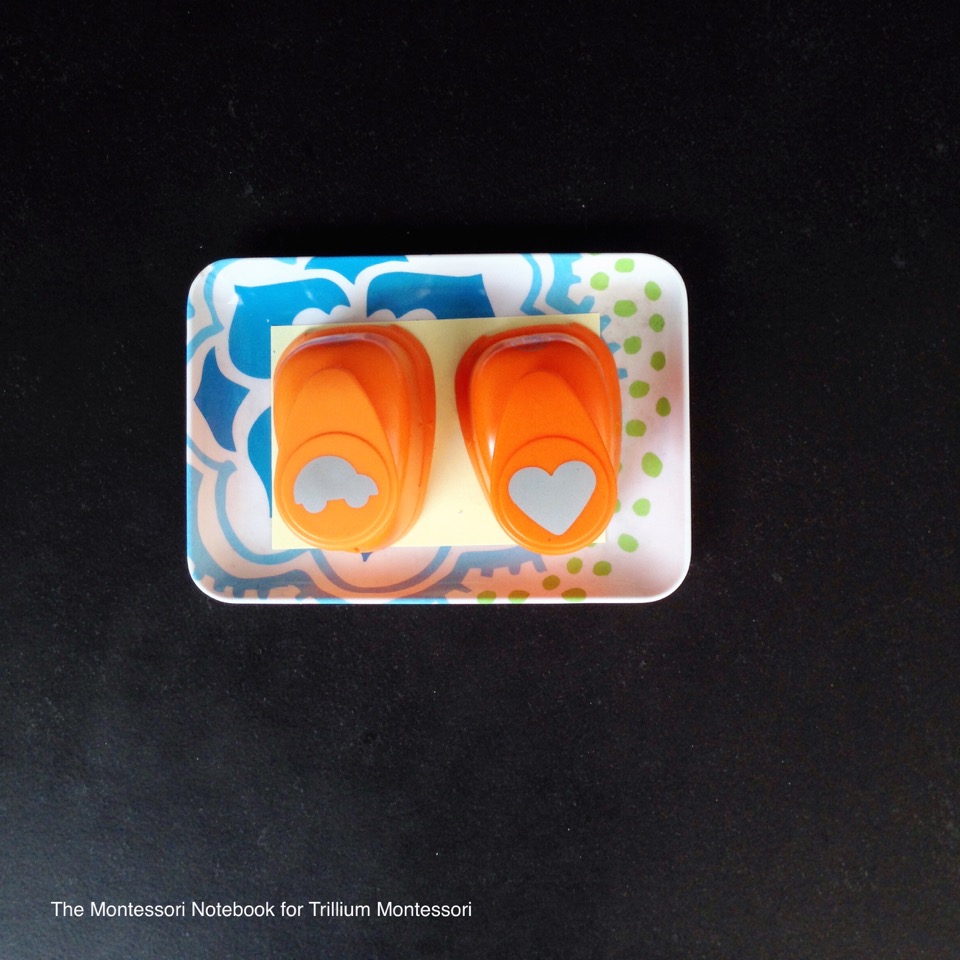
Paper punches with different shapes are challenging for the children to master and make great shapes to glue onto paper or to collect into a little envelope. You can also find paper punches with seasonal shapes, like Christmas trees or hearts.
7. Sewing

I love Montessori sewing activities. In our classroom we mostly have simple sewing cards where the children are learning to sew in a straight line. I have a needle case to hold a large blunt-ended embroidery needle, some embroidery thread and a sewing card. At first I hold the card for the child and point out the holes. I can show them how to sew a few holes, including how to turn the card over after each hole. Then they are usually wanting to take over and pull the thread through, or push the needle in the next hole. They can cut the thread at the end and I can show them how to knot the thread.
8. Prick work

This is a great activity for children to prepare for writing, improving their hand control and strength by working to stay on the line. I make simple shapes for the children to prick along. At first they make just a few holes, and as they practice they can make holes around the whole shape and push the shape out. Our art area is always busy and these trays get used constantly. I love to watch the children explore the materials and often they find even more ways to use the materials in creative ways. Enjoy! Simone Davies
About Simone
Simone Davies loves putting Montessori into practice. She is a qualified 0-3 Montessori teacher through the Association Montessori Internationale (AMI) and mother of two children who attended Montessori preschool and primary school. She is from Australia and lives in the Netherlands where she runs a Montessori playgroup for babies, toddlers and preschoolers in Amsterdam. She also helps parents online with her new e-courses at The Montessori Notebook.

Designing Spaces for Montessori Children E-Course
Don’t miss Simone’s online course for parents to help you set up your home in a Montessori friendly way. Sign up for the next course or get information about upcoming courses.